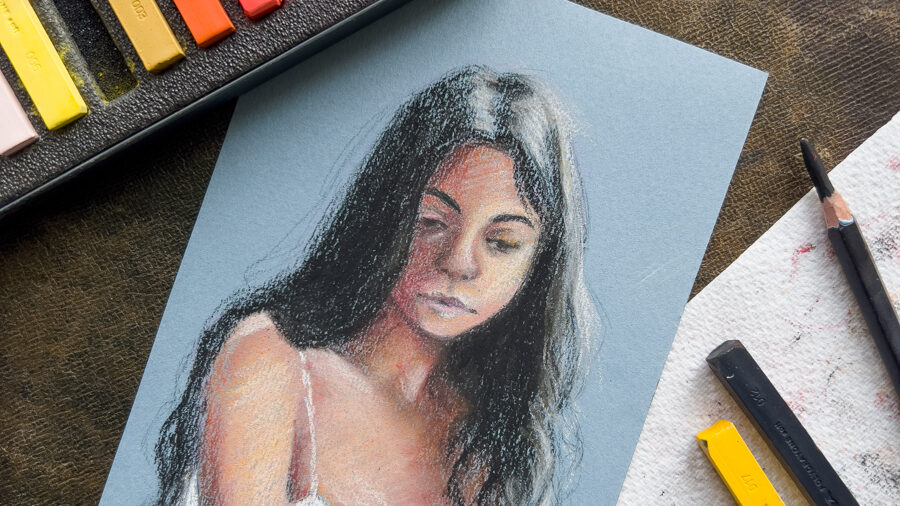
Soft pastels are an enjoyable and versatile drawing medium. Lately, I’ve been challenging myself to use them more to experiment and improve my skills. In this post, I’ll walk you through the process of a quick and rather simple portrait drawing. I’ll detail the materials I used and outline each step in the creation of it. So continue reading for the step by step process of this soft pastel portrait drawing.
Is Pastel Drawing Easy?
For artists new to soft pastels, you might be wondering if this medium is beginner-friendly. I’d say it can be, but there’s certainly a learning curve. Drawing, in general, is a skill that requires practice, and transitioning to a new medium takes time.
The beauty of soft pastels lies in their accessibility and minimal setup, unlike painting. All you need are pastels and paper. However, becoming proficient with soft pastels may require some adjustment. Techniques like layering and blending are crucial, and a grasp of color theory is immensely beneficial.
Oh and let’s not forget the mess that pastels can create. Unless you’re only using pastel pencils there’ll likely be pastel dust all over your desk and hands.
Materials For Drawing A Portrait With Soft Pastels
The materials I used for this portrait drawing are simple and won’t break the bank. As mentioned earlier, all you require are soft pastels and paper.
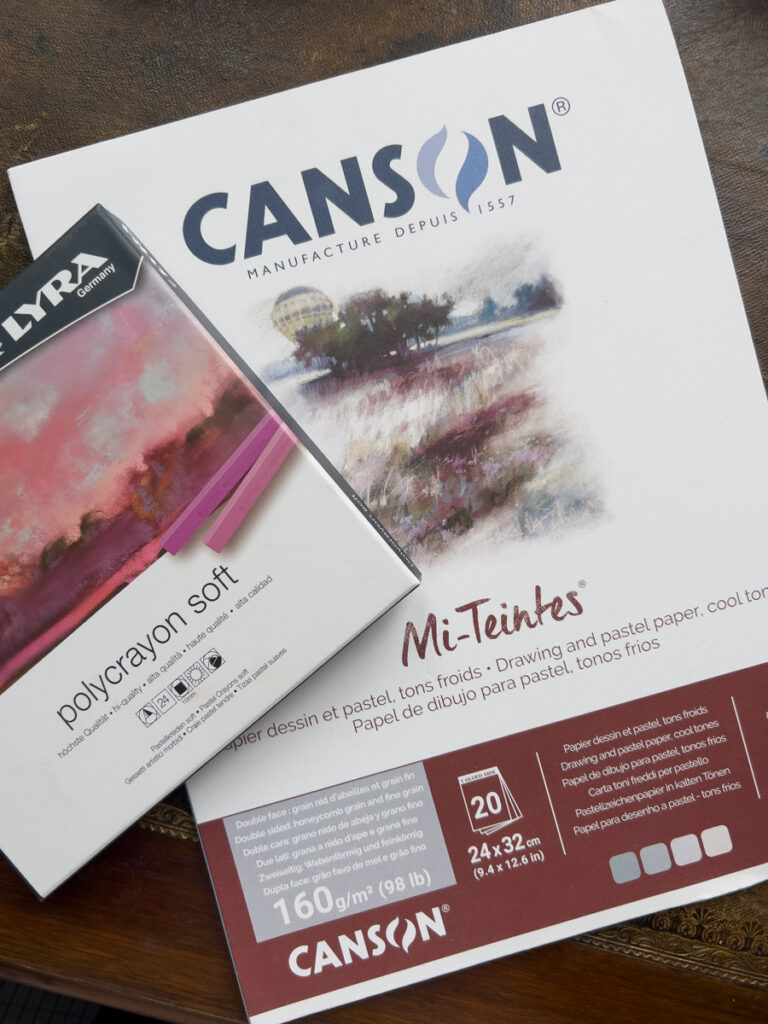
I opted for Canson’s Mi-Teintes paper, available in various colors. This time, I chose a blue-toned sheet. Toned paper aids in establishing values and adds visual interest. While any paper can be used, selecting one specifically designed for pastels allows for more layering possibilities.
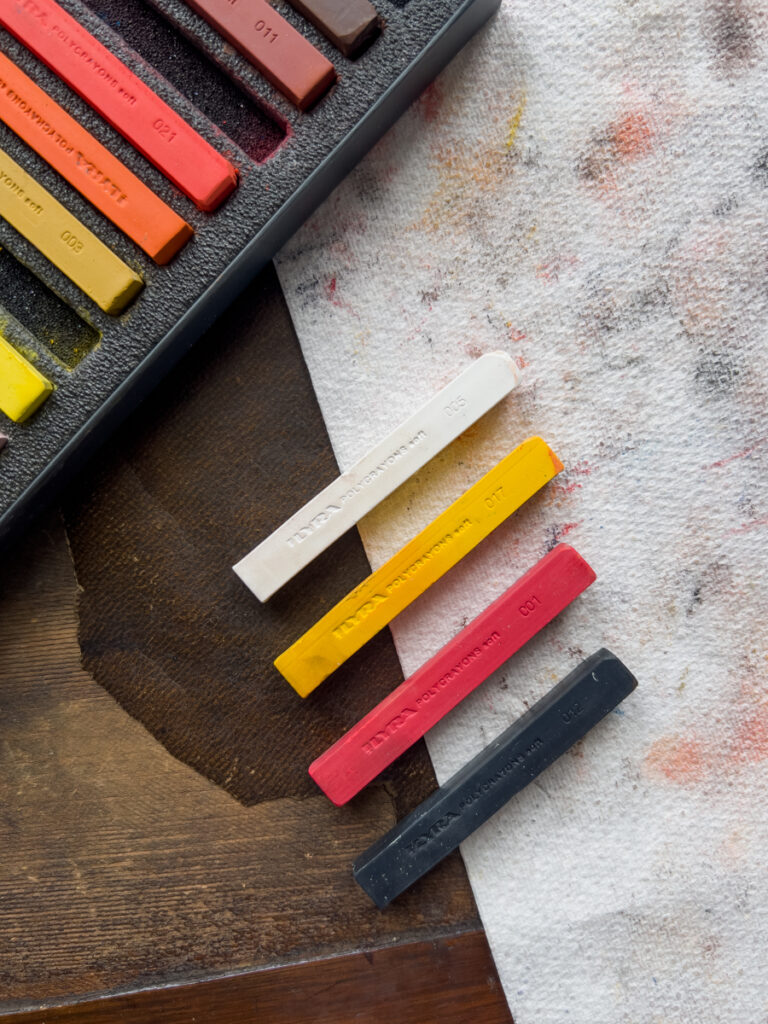
The soft pastels I used are by LYRA and they are more on the harder side. My palette was minimalistic, consisting of just four colors: white, black, yellow, and red.
Paper Options
Canson Mi-Teintes (Brown Tones) ($22.79)
Sennelier La Carte Pastel Pad ($42.31)
Strathmore 400 Series Pastel Pad ($9.80)
Soft Pastel Options
LYRA Polycrayons Soft Pastel Crayons (Pack of 24) ($26.26)
Paul Rubens Soft Pastels, 40 Portrait Colors ($39.99)
Koh-I-Noor Artist’s Soft Pastels (Pack of 48) ($41.99)
Sennelier Soft Pastels Half Stick Set 30 ($44.47)
Step 1: Sketch
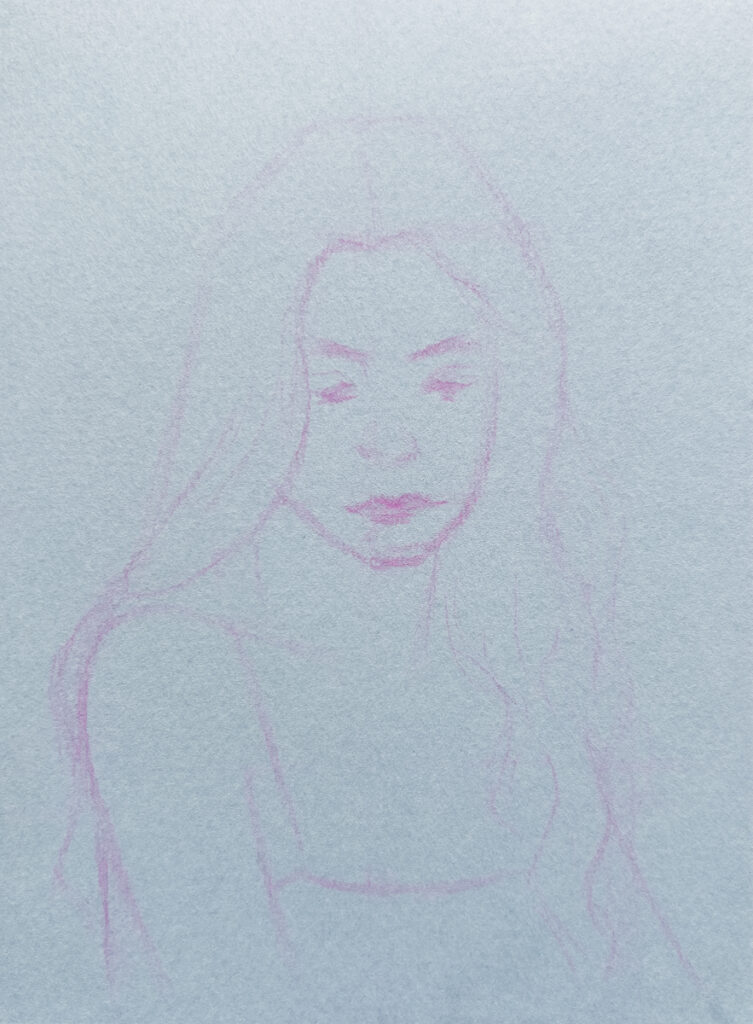
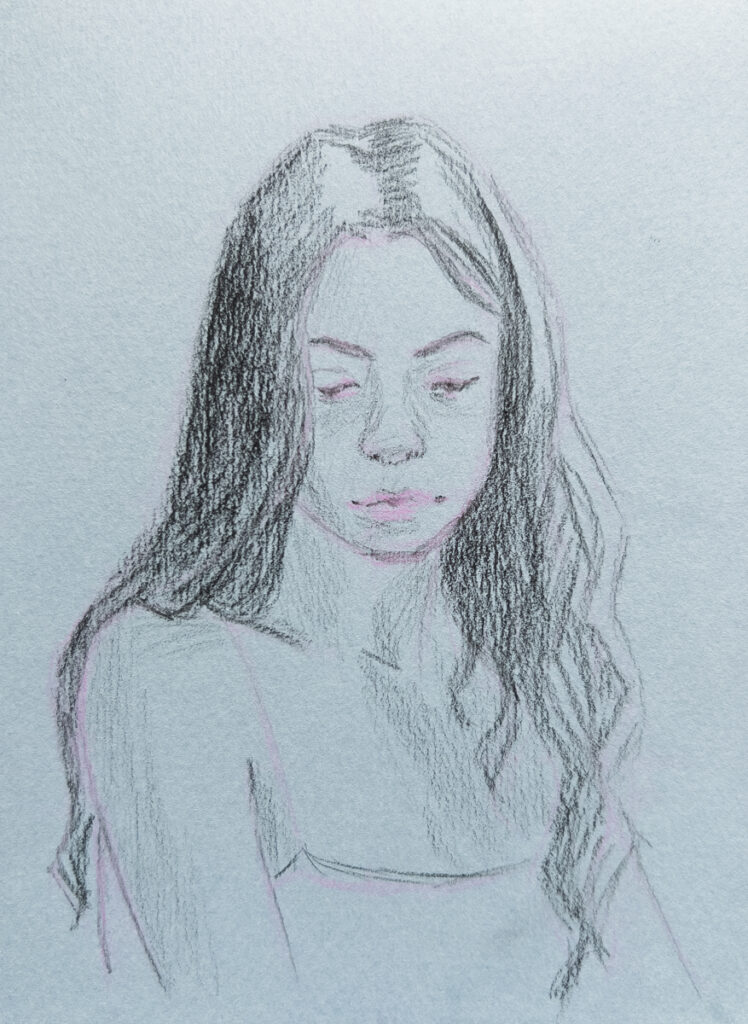
My initial step to creating this soft pastel portrait drawing was to create a preliminary sketch of the girl using an erasable colored pencil. A simple sketch like this helps me establishing the correct positioning and proportions.
Step 2: How Do You Start A Soft Pastel Drawing?
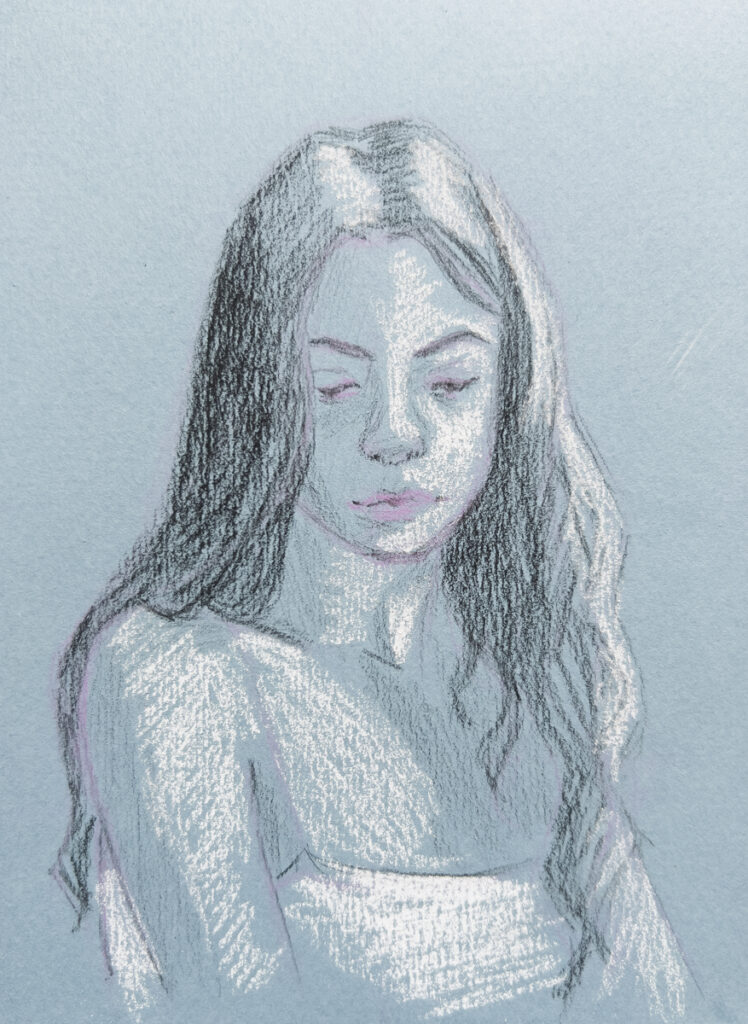
Following the sketch, I began by lightly adding the darkest values, simultaneously reinforcing certain sketch lines using a black charcoal pencil.
Step 3: Establishing The Highlights
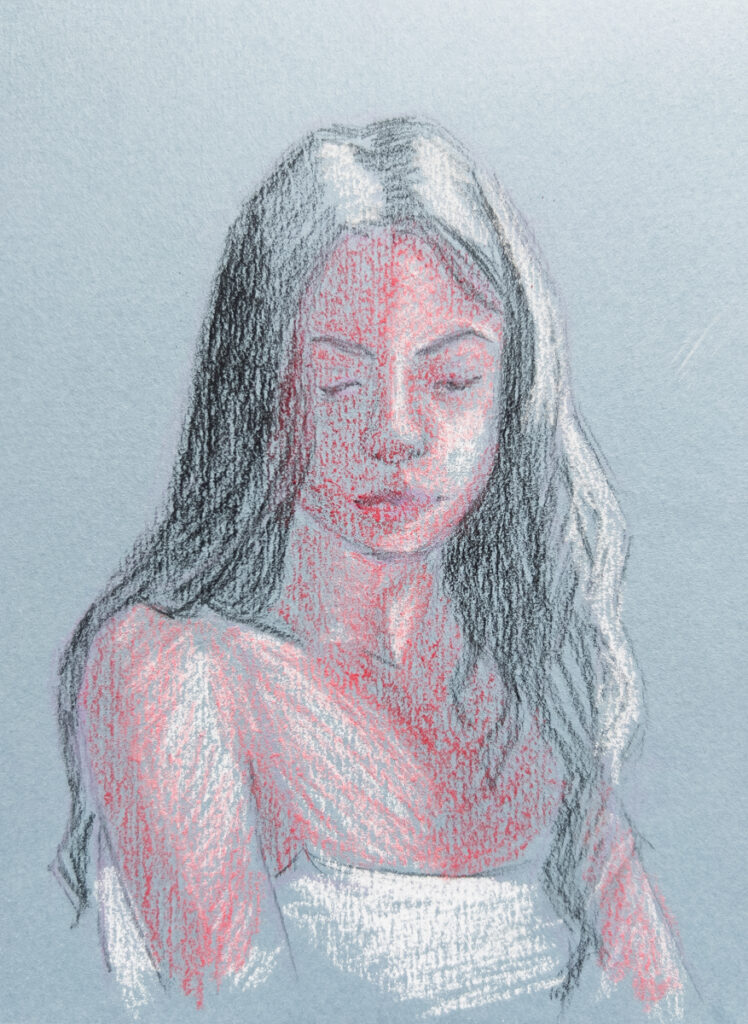
Next, I used the white pastel to identify the areas where the brightest highlights would fall. In this instance, they were positioned on the right side of the face and hair, as well as on the left side of her arm and chest (from our point of view).
Her shirt is white so I place a few marks there to indicate it.
Step 4: Adding Red
Next, I introduced some color by lightly applying red pastel across her skin. I know it looks weird at this point but you just have to ignore the “ugly” state and trust the process.
Step 5: Adding Yellow & More Black
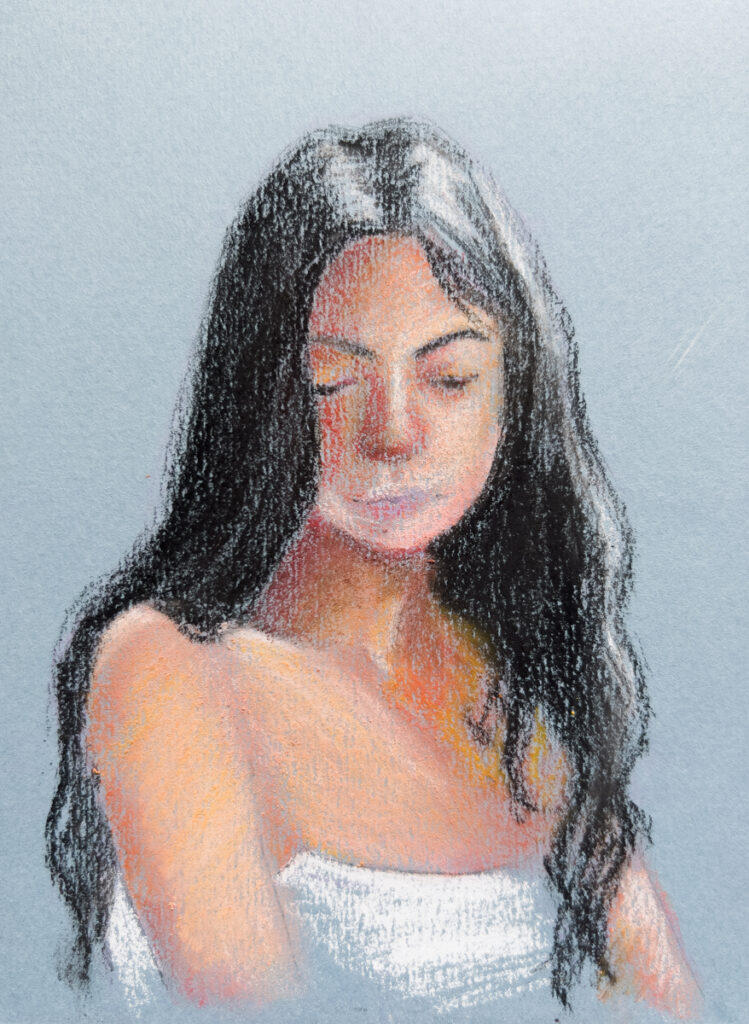
I used the yellow soft pastel and applied it all over her skin to blend it with the red.
To create shadows on the left side of her face and beneath her chin, I added additional layers of red. Achieving the correct values and colors required a back-and-forth process with red, yellow, and white pastels.
As for blending, I predominantly utilized my fingers. I also used the black pastel to darken the hair, eyebrows and eyes.

Final Steps To A Completed Soft Pastel Portrait:
For the final steps I added some more white to some parts of the skin and hair.
If you have soft pastel pencils you can use them at this stage to add details. I don’t have any so I used the black charcoal pencil again to draw smaller details like the nostrils, the eyes and mouth.
And now this soft pastel portrait drawing is all finished.
As you can tell there’s not too much to this soft pastel drawing and four colors is all it takes to create realistic skin tones. Hopefully this step by step process was insightful and inspired you to pick up some soft pastels.
Don’t Have Soft Pastels yet?
If you’re on the fence to buy some soft pastels consider these Paul Rubens ones or these ones by Arrtx which I tried, reviewed and liked:


What wonderful work!
I’m so excited to try this medium.
Hoping it’s easier than watercolors.
LoL.
Thank you for sharing your experience and Talent!
Wanda G.