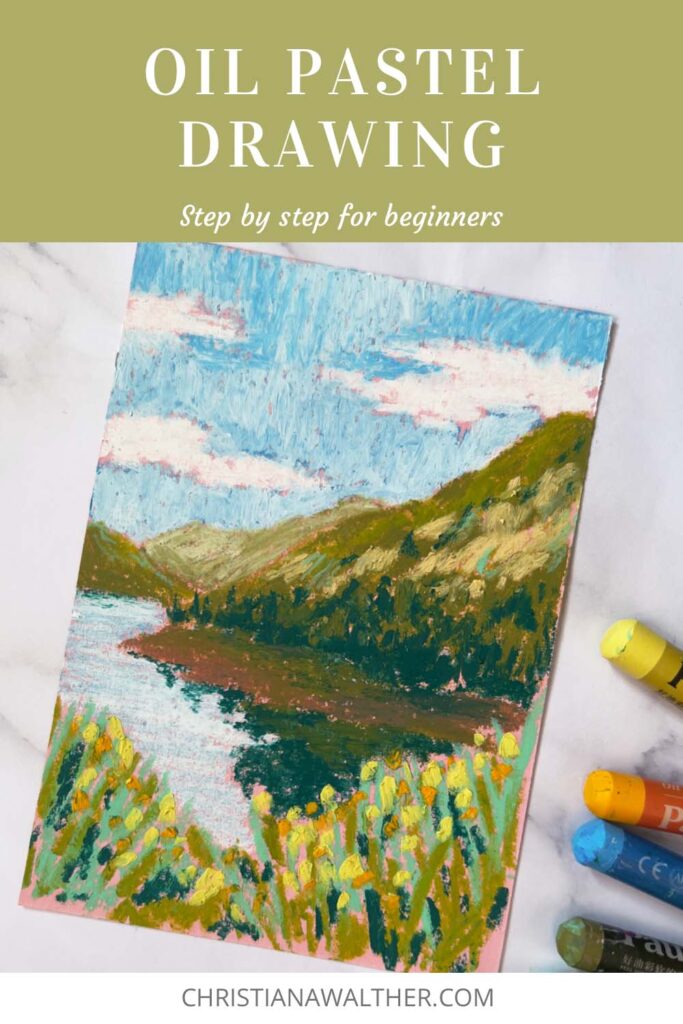
In this step by step oil pastels drawing for beginners we are creating a beautiful mountain landscape. This tutorial is easy to follow, will tell you what supplies you need and how to approach a landscape drawing. You can apply these steps and techniques to any other landscape reference.
If you want to learn the different oil pastel techniques first, then check out this article.

Materials
Oil Pastels:
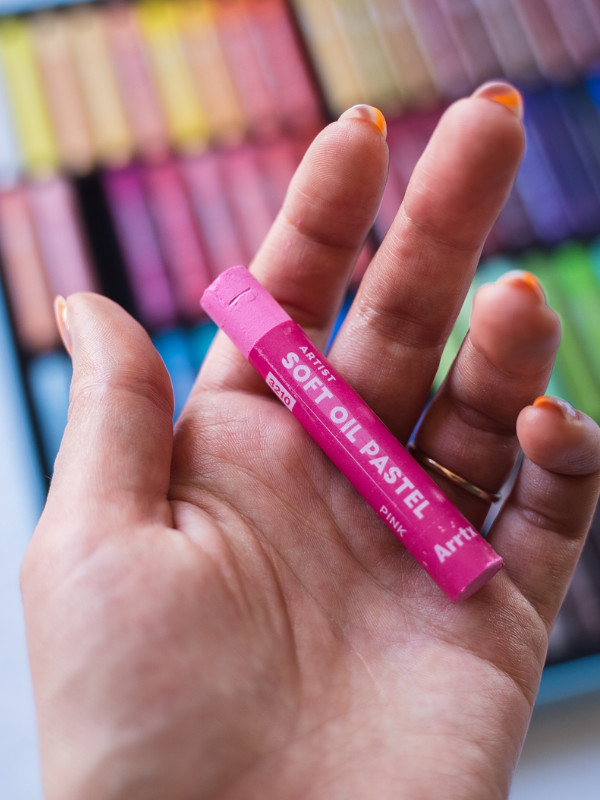
The oil pastels you need for this drawing should consist of a few greens (light to dark values), one or two light blues, some yellows (light to dark values), a brown and white.
If you don’t have many colors in your set, use the ones you have that you think would work. You can always lighten or darken a color with white or black.
These are the exact oil pastels I used for this landscape drawing for beginners:

- 203 Titanium White
- 231 Light Yellow
- 213 Bean Yellow
- 233 Permanent Lemon Yellow
- 252 Indian Yellow
- 172 Permanent Green Light
- 175 Tree Green
- 174 Olive Green
- 160 Deep Grandmother Green
- 350 Grey Blue
- 333 Burnt Umber
If you don’t have any oil pastels yet or want to add some to your kit, here are some options:
- Paul Rubens Oil Pastels Set ($26.99)
- Pentel Oil Pastels ($2.05 – $46.78)
- Van Gogh Oil Pastels and Sets ($2.80 – $51.41)
- Sennelier Oil Pastels and Sets ($3.75 – $297.00)
I use and recommend the Paul Rubens oil pastels because they are good quality, have a nice creamy texture and are affordable. With them you can lay down the colors very thick to achieve a “painterly” look.
Surface:
For this oil pastels landscape drawing I used a light pink toned paper because I love when some of the pink shines through. You don’t need to use special pastel paper, use the paper you have and like but it definitely helps if it is a bit thicker and has a bit of texture because then it is easier to apply many layers.
Here are some recommendations:
- Sennelier Oil Pastel Card Pads ($23.16 – $81.32)
- Strathmore 400 Series Toned Gray Sketch Pad ($5.62 – $18.25)
What do I need to get started with oil pastels?
The Reference
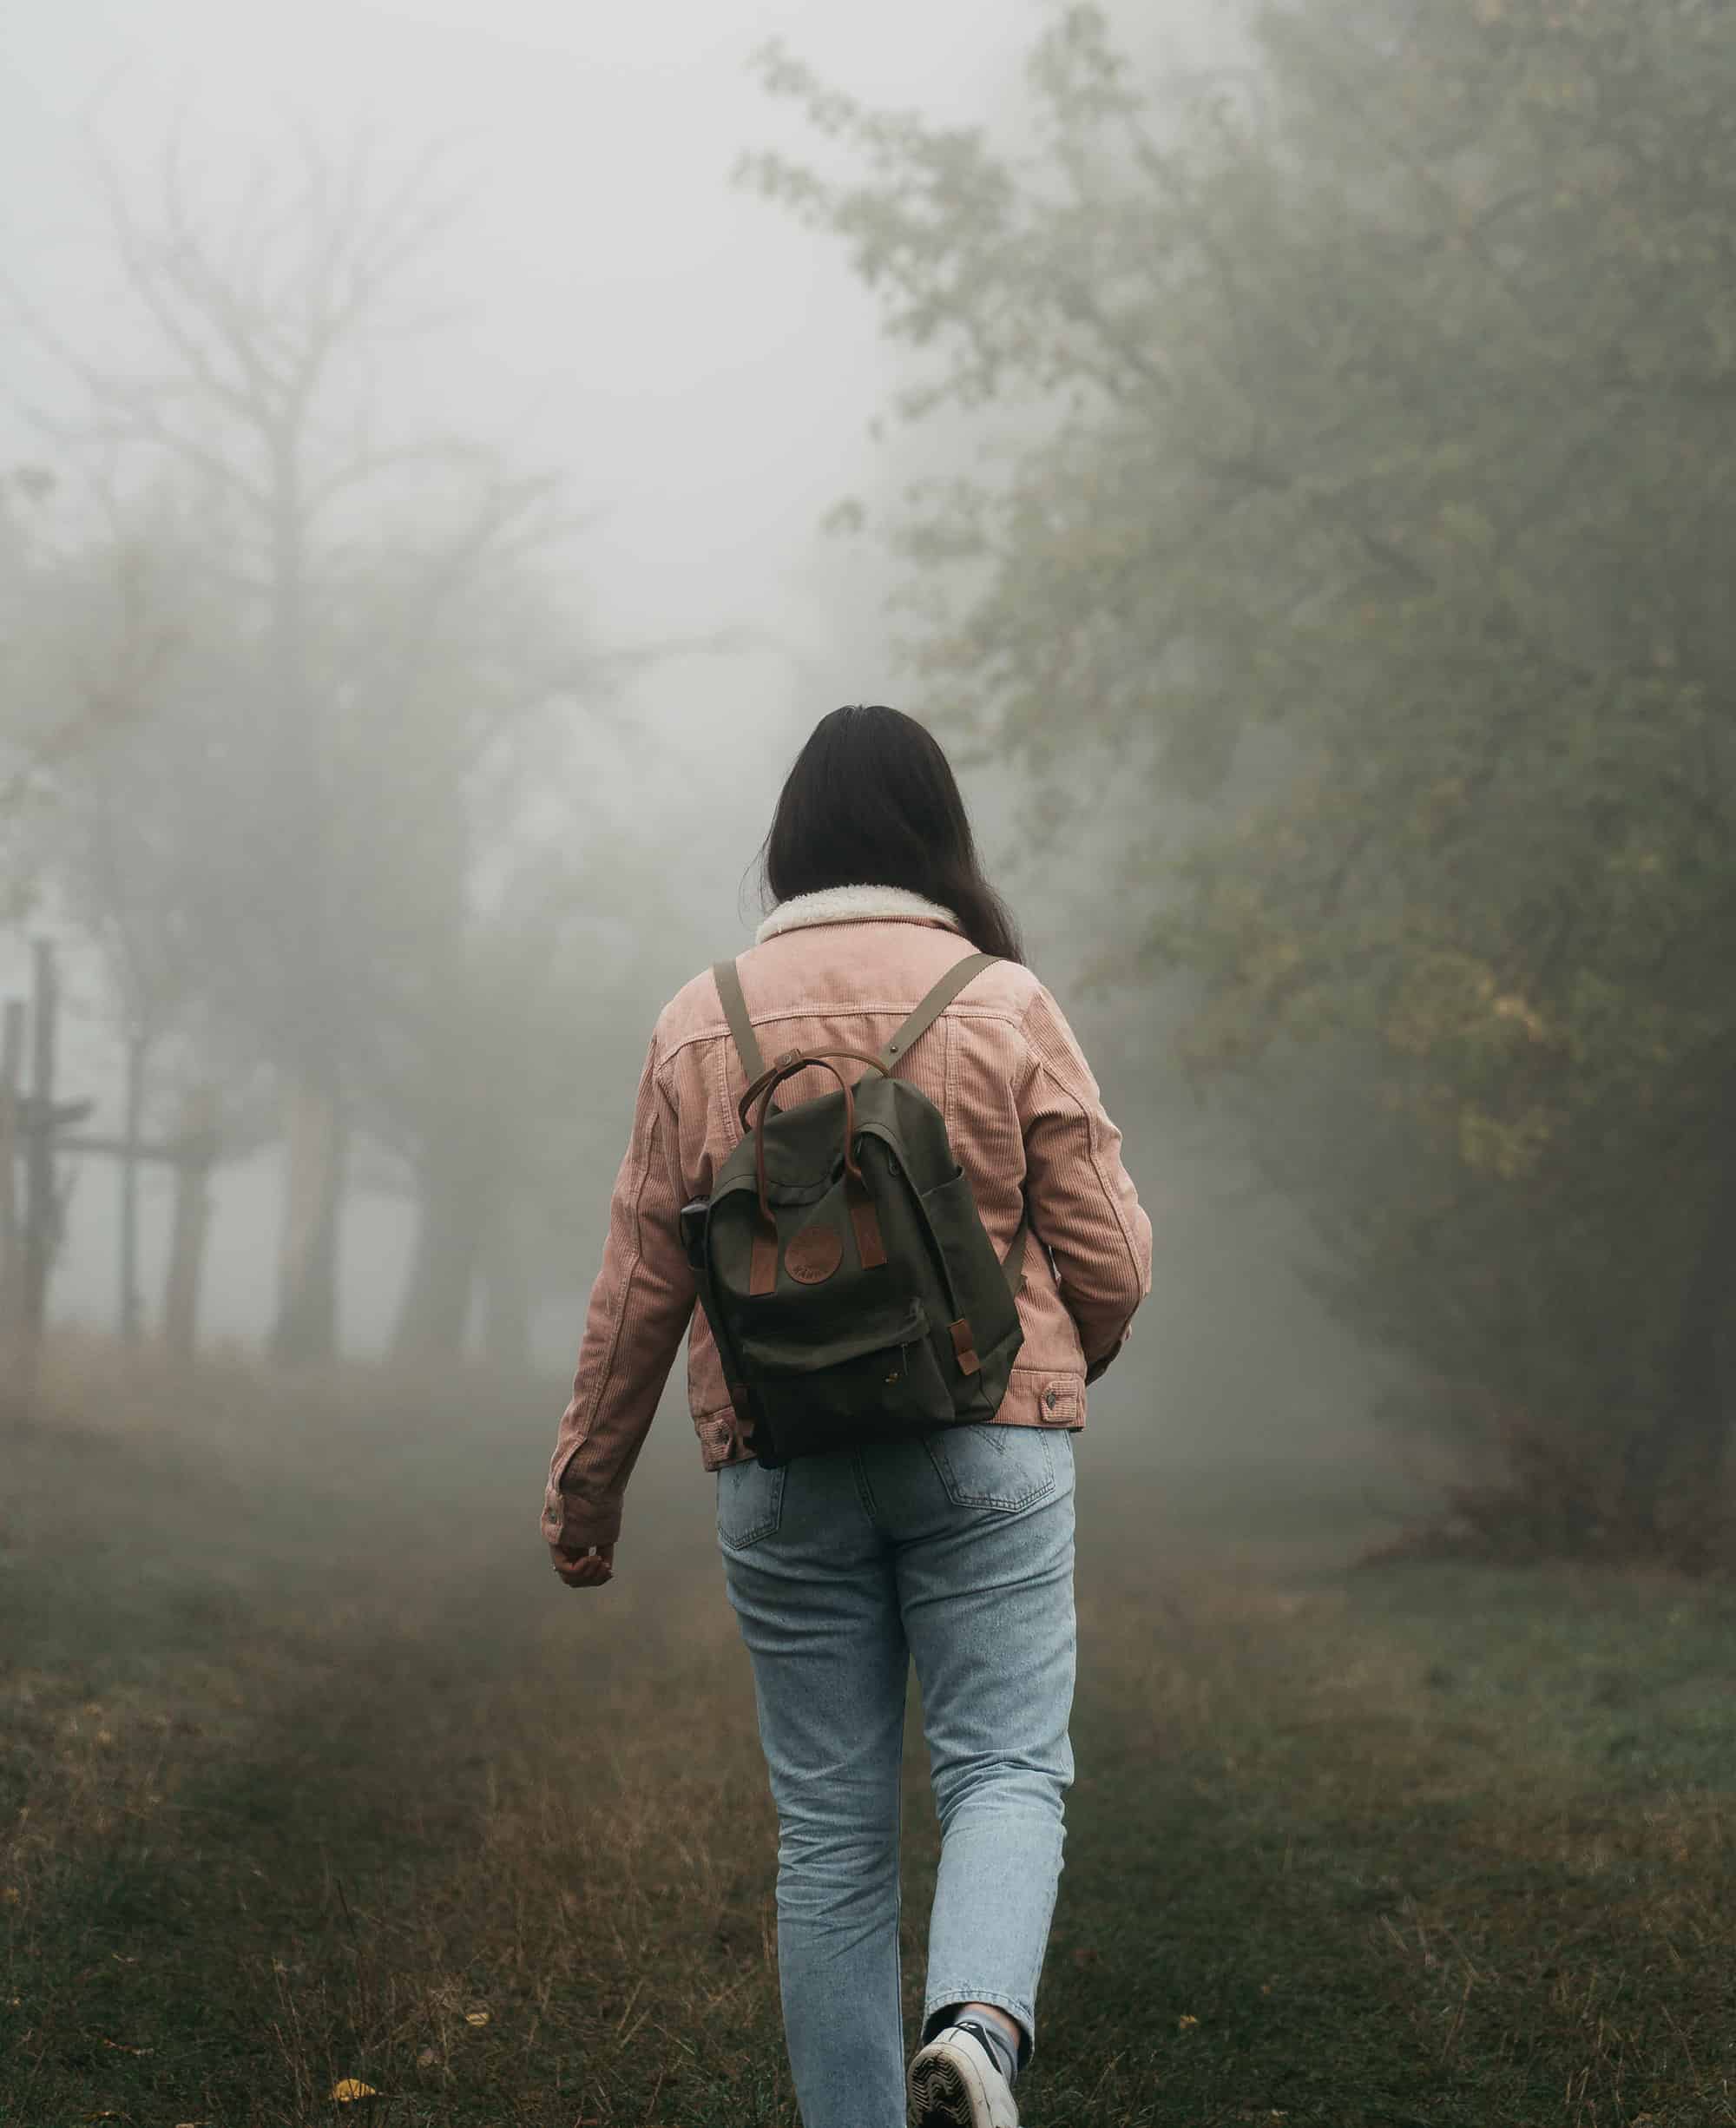
This is the reference I used. It’s a picture I took in northern Italy. Notice that I’m not trying to make an exact copy of it but to use it as a guide. Feel free to use it for your drawings and paintings as well.

Now let’s get started!

Step 01
With a red colored pencil we roughly sketch in some of the main shapes like the mountains and the clouds and mark where the flowers in the foreground should be.

Step 02
Now we can start using the oil pastels. Firstly, use a blue oil pastel (350 Grey Blue) and block in the color of the sky. With a white pastel we color in the clouds. I don’t color in perfectly because I like the paper peeking through here and there.

Step 03
Next, we use the white oil pastel again and layer it on top of the blue to lighten the sky. If you have a light blue oil pastel like that, you obviously can use that and don’t need to mix two colors to achieve the perfect sky color.
However, mixing two colors gives a bit of texture and more visual interest in my opinion.

Step 04
Now it’s time to draw the mountains. We use a green oil pastel (174 Olive Green) and block in the shape of the mountain in the back.
As you can notice, we work from the background to the foreground because it makes it easier to layer all of the colors.

Step 05
With a light pastel (231 Light Yellow) we draw over the green to make it a lighter color. When drawing landscapes remember that the further away something is from the eye, the lighter it will be.

Step 06
Now we use a light green oil pastel (175 Tree Green) to block in the light values of the other mountains.


Step 08
Using a light yellow-greenish oil pastel (213 Bean Yellow) and a light green (172 Permanent Green Light) we draw the highlights of the big mountain and with some darker green pastels (174 Olive Green and 160 Deep Grandmother Green) we add some shadows and the trees at the bottom.
Furthermore, we start with a light block in of the lake with a blue color (350 Grey Blue).

Step 09
Because the lake in the reference photo is reflecting the sky and therefore quite bright, we use a white pastel and blend it with the blue we put down before to achieve that light color.
Also we draw the bottom of the mountain with a brown (333 Burnt Umber) and some green pastels (174 Olive Green and 160 Deep Grandmother Green).

Step 10
The trees are reflecting in the lake so we draw them with the same green pastel (160 Deep Grandmother Green) we used before.

Step 11
Now we’re drawing the wildflowers in the foreground. For that we use some light greens (172 Permanent Green Light and 175 Tree Green) and draw some lines.

Step 12
For some contrast we use a dark green oil pastel (160 Deep Grandmother Green) and add some dark lines.

Step 13
Finally, we can add the flowers on top with some yellow oil pastels (233 Permanent Lemon Yellow and 252 Indian Yellow). Now we have finished our oil pastels landscape drawing for beginners.
I hope this oil pastels landscape drawing for beginners was helpful to you! If you decide to recreate this I would love to see the result, so feel free to tag me on Instagram (@christiana.walther) or send me a mail.
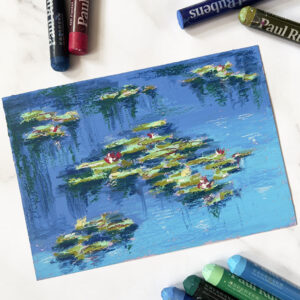
Don’t forget to check out this impressionist oil pastel landscape tutorial and this how to draw an eye with oil pastels tutorial.


Leave a Reply