FOLLOW THESE DETAILED STEPS on oil painting for beginners IF YOU WANT TO know how to get started with This Medium
Oil painting can seem very intimidating for beginners.
Does oil painting seem scary and complicated to you? Like a medium that’s only meant for experienced and professional artists? Are you confused by what solvents and mediums are and which ones you should use, if any at all? Maybe you are afraid of your materials spontaneously combusting?
Well, I’ve certainly been there. I didn’t know which colors to pick, what the use of solvents or mediums was and at first I didn’t even know oil painting could be dangerous (it is only if you don’t pay attention to these simple precautions I talk about later in this post).
All these thoughts kept me from starting using oil paint for years but after thoroughly researching, a friend convincing me to give it a try and a global lockdown forcing me to learn something new I finally jumped into my oil painting journey this year.
Before starting I watched tons of helpful beginner videos on YouTube and it would have been super helpful to have everything summarized and written down somewhere. So I made this guide on oil painting for beginners with all researched information I find important and my personal recommendations and experiences.
1. Why oil painting?
Maybe you’ve always wanted to try oil painting or you are bored with acrylics or watercolors. Or maybe you’re in a rut. Trying a new medium is always exciting and can be very motivational. It can also help getting you out of art block.
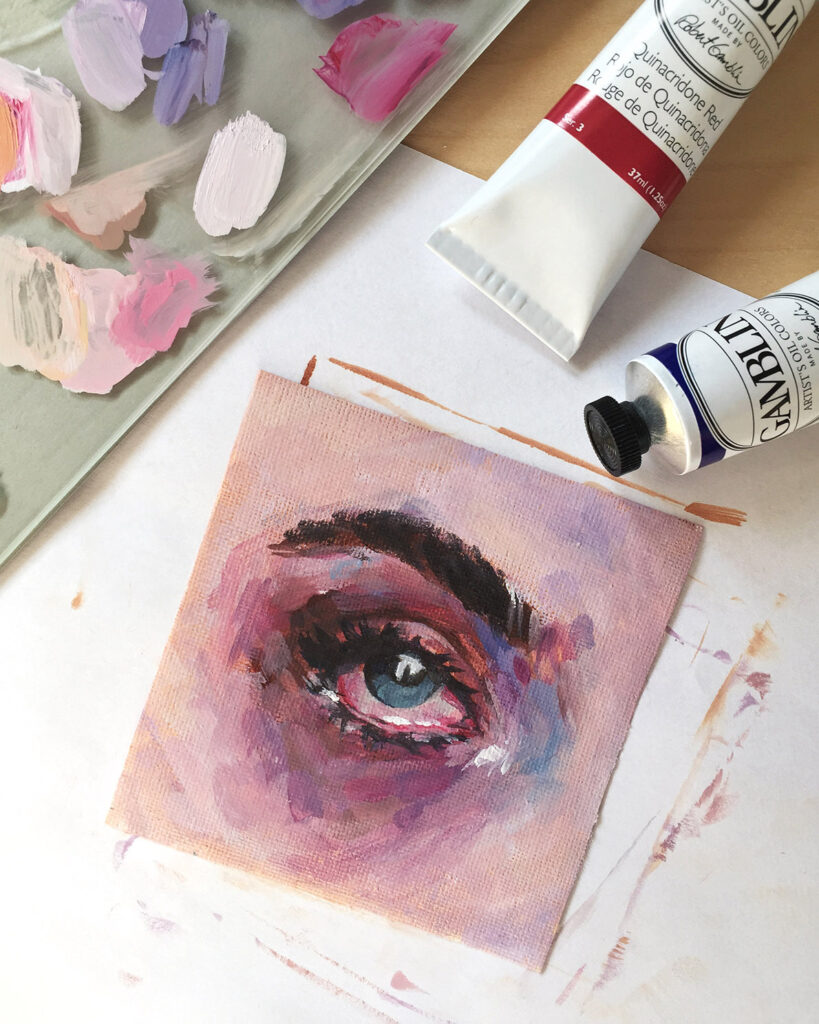
Oil painting is a lot of fun and the medium is so different from acrylics, watercolors or gouache. It’s a slow drying paint consisting of pigment particles and drying oil as a binder and it has been used for centuries. Long drying times, versatility and richness in color are three of the many advantages.
Oil paint is not only meant for experts or professionals. If you’re a beginner artist and interested in oil painting don’t hesitate, oil painting can certainly be for beginners.
2. Oil paints
Of course you need some oil paints to get started. If you’re on a budget or don’t know if oil paints will be right for you, you could start with an inexpensive standard introductory set with all the basic colors (like this one). But if you can, invest a bit more in higher quality paint.
Cheap paint usually has a low level of pigmentation making it less covering. They also have all kinds of additives or stabilizers in them which will make painting much more frustrating.
High quality paints can be pretty affordable these days. Since they are more pigmented they will last longer because less paint is needed.
Luckily you don’t need many colors to start out. If you know a bit about color theory you will only need the primaries red, yellow and blue. You’ll also need white and maybe some kind of brown shade.
You can choose your primaries from these shades:
- Yellow: Cadmium Yellow Light, Cadmium Lemon, Hansa Yellow Light
- Red: Cadmium Red, Quinacridone Red, Perylene Red
- Blue: Ultramarine Blue, Phthalo Blue,
- Brown (optional): Burnt Sienna, Burnt Umber
- White: Titanium White
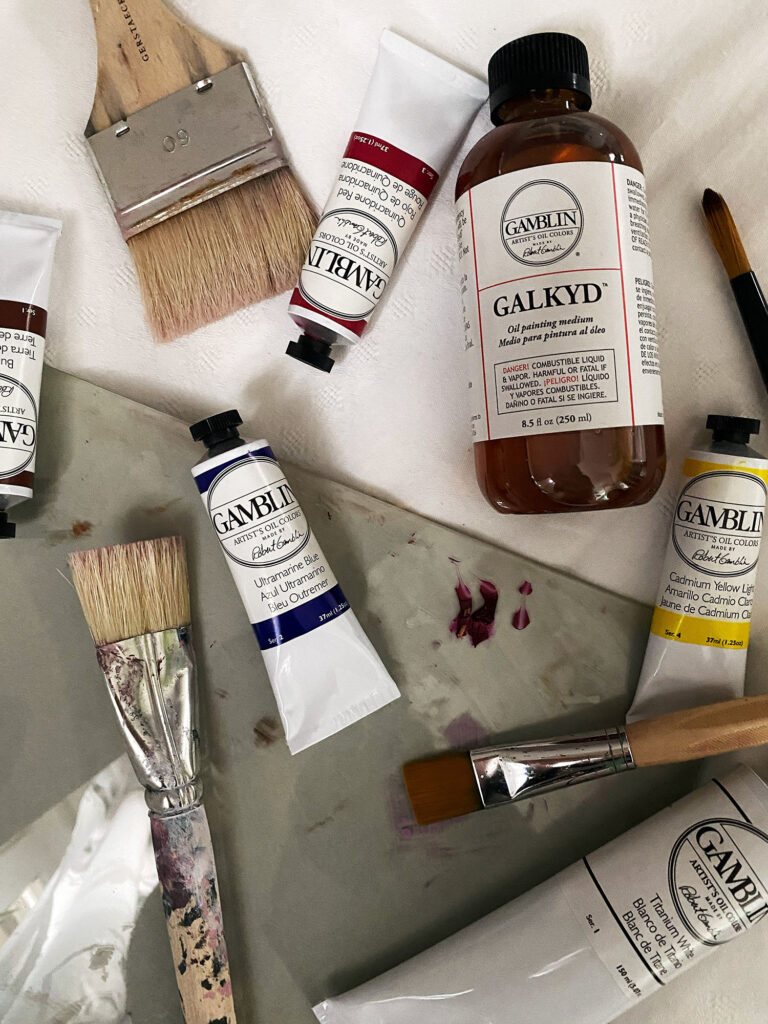
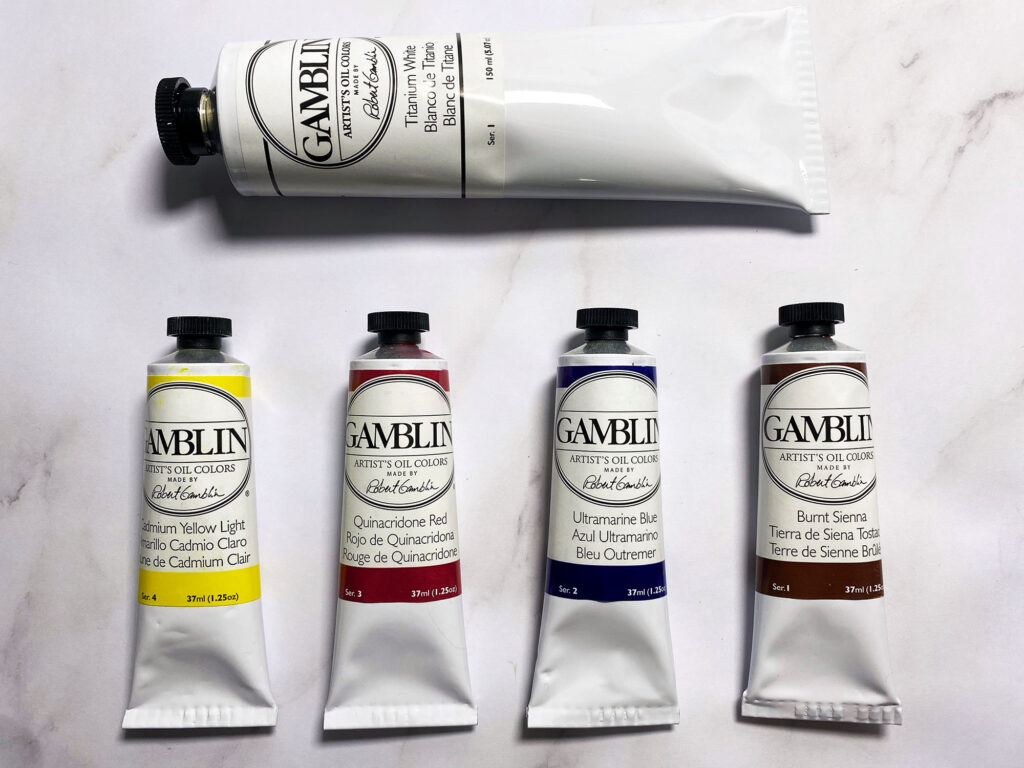
The colors I decided on getting first were Titanium White (a large tube), Cadmium Yellow Light, Quinacridone Red, Ultramarine Blue and Burnt Sienna.
For the brand I decided to stick to Gamblin because they are high quality, they don’t use solvents in their paints and I agree with their company and work ethic.
Great brands you could choose from:
- Gamblin Artist Grade Oil Paints ($8.25 – $175.50)
- Winsor & Newton Artists’ Oil Colors ($7.56 – $60.01)
- Schmincke Norma Professional Oil Colors ($15.10 – $38.47)
- Rembrandt Artists’ Oil Paints ($10.88 – $945.00)
- Blick Studio Oil Paints ($3.29 – $35.98)
- Bob Ross Oil Colors ($5.45 – $25.71)
- Holbein Artists’ Oil Paints ($6.96 – $133.41)
3. Surface
The good thing is you can paint on basically everything with oils as long as the material is somehow primed. The most common surface is canvas. Canvas can be found stretched or as sheets in a pad.
I recommend a pad of pre-primed canvas for oil painting for beginners because they are usually cheaper than stretched canvas and you’ll feel less scared to mess it up. You can also cut it into smaller pieces.
You could also paint on primed panels, wooden panels or oil paper. In addition you could buy gesso (a mixture that’s used as an absorbent primer coat substrate) and prime surfaces yourself.
Surface examples:
- Blick Academic Cotton Canvas ($2.77 – $12.01)
- Blick Studio Canvas Pads ($6.15 – $23.85)
- Arches Oil Paper ($14.43 – $25.23)
- Blick Economy Cotton Canvas Panel Classroom Packs ($9.85 – $118.36)
- Winsor & Newton Artists’ Acrylic Gesso ($10.42 – $25.19)
4. Brushes
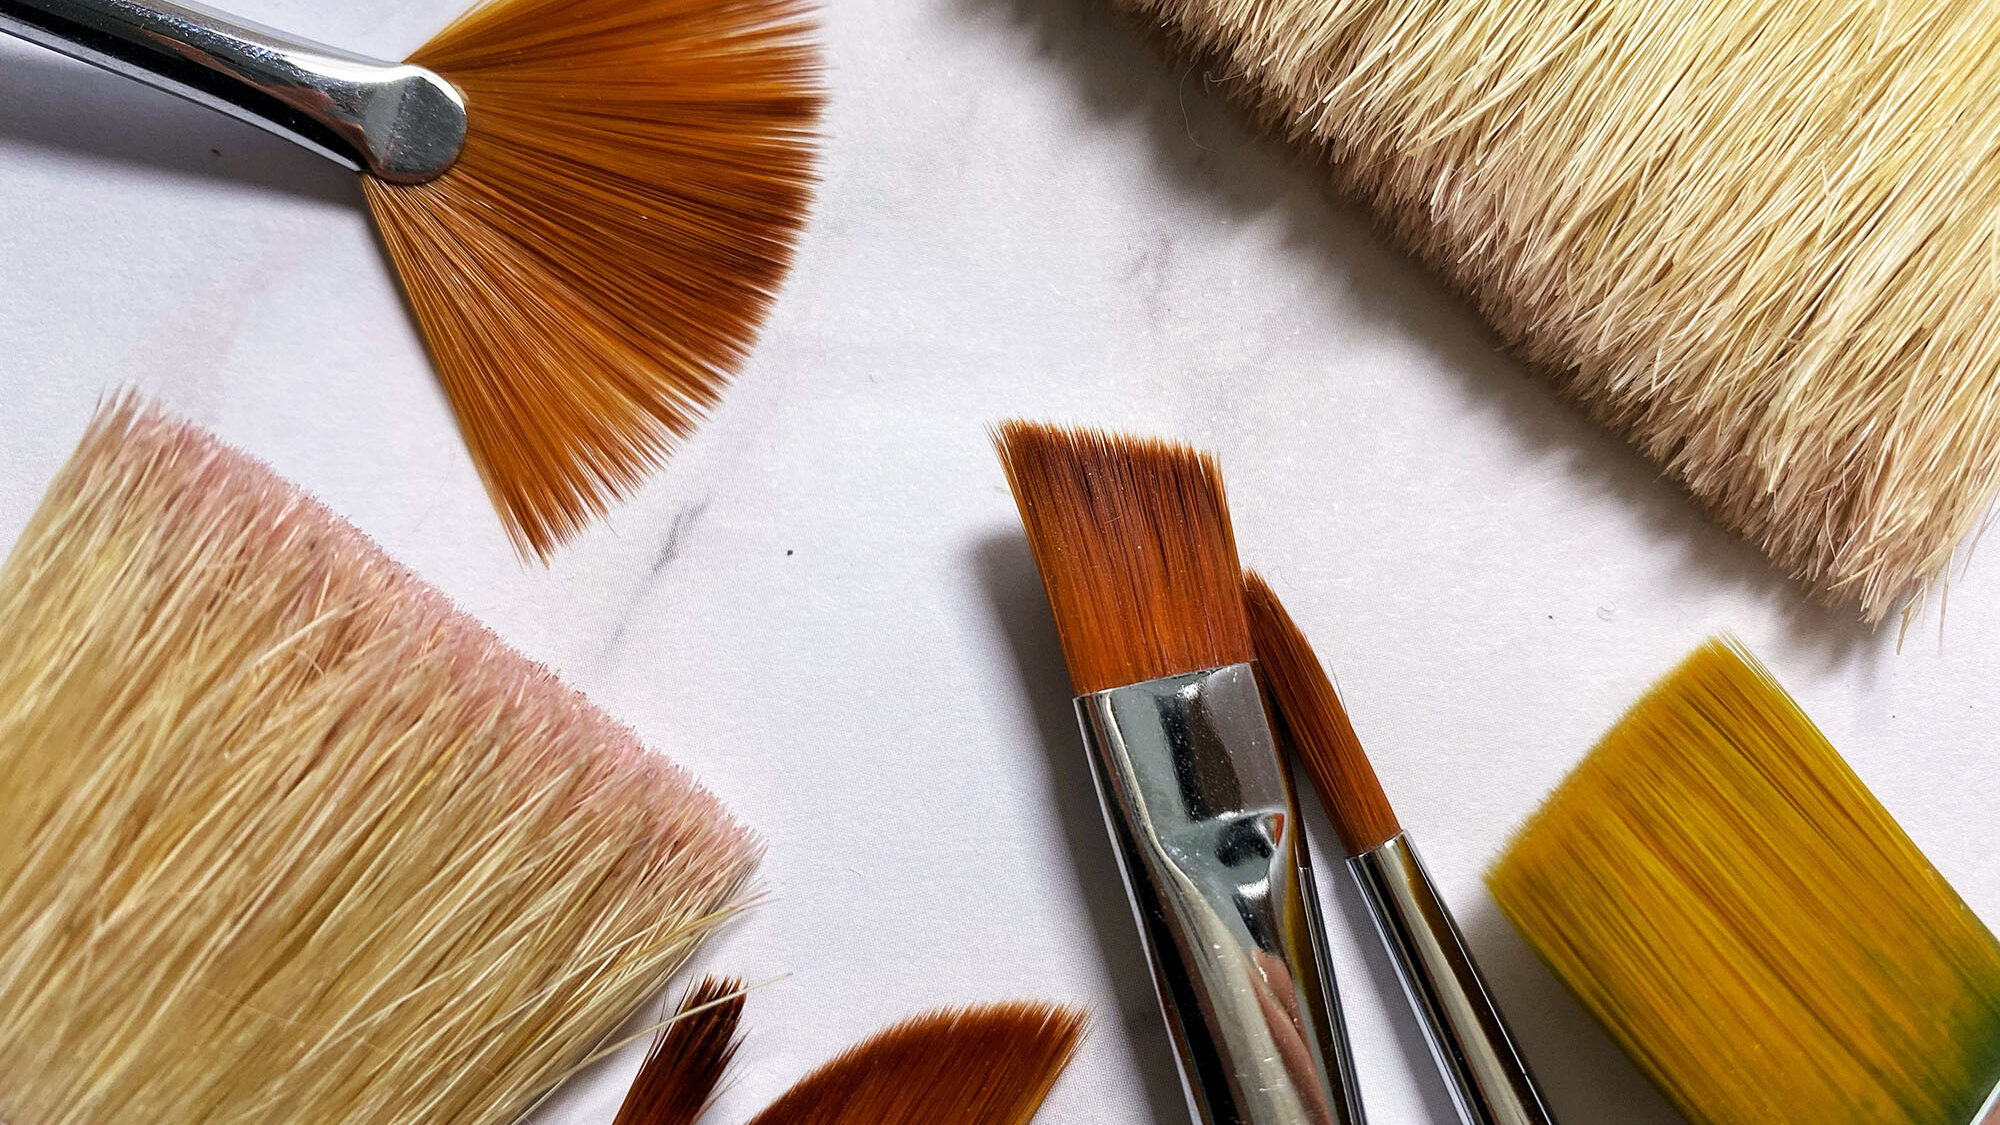
Personally I don’t think it’s important what brushes you use. Just use whatever you own and like. You could buy brushes to use only for oil painting but it’s possible to clean them with some solvent or water and soap so you don’t necessarily have to buy new ones.
Palette or painting knives are also great to paint with and especially good for mixing colors. If you mix your colors with a brush all the different pigments will stick to the bristles which makes it difficult to properly mix them.
Basic Brushes:
- Blick Scholastic Wonder White Synthetic Brushes and Sets ($1.86 – $260.79)
5. Palette
There are many palette options you can choose from. The palette isn’t the most important thing so use whatever you have.
A great reusable option is a glass palette. I use the glass of an old picture frame with a sheet of gray paper taped onto the back so I don’t have to mix on white.
The best thing about a glass palette is that leftover paint (even if dried) can be scraped away with a glass scraper.
Other palette options are wooden palettes or paper palettes. If you have aluminum tin foil at home you could also use that.
Palettes you could choose from:
- Amaco Paragona Glass Artist Palette ($30.19 – $37.86)
- Kingart Oval Clear Acrylic Palette ($7.19)
- Kingart Oval Wooden Palette ($7.19)
- Blick Studio Disposable Palette Pads ($6.60 – $19.08)


6. Solvent
Now let’s talk about solvents. A solvent in oil painting acts kind of like water in watercolor or acrylic painting. It’s used for thinning and stretching paint and it’s also great for cleaning brushes.
I use and recommend Gamsol by Gamblin.
Gamsol is 100 percent odorless mineral spirits and it’s number one for studio safety (you should still ventilate your room while painting). It’s best if you use low odor solvent over regular white spirit because they contain less toxic aromatic compounds. So Gamsol is a great option but you could also use other brands.
What’s best about it is that it’s reusable. If you’re done with painting you can let the jar filled with Gamsol rest and all the pigments will settle to the ground. Then you can pour the now clear again solvent into another jar and reuse it. The leftover pigments could be used as gray paint or just wiped away.
Another common option for solvent is turpentine. Be careful with turpentine because it is flammable and its vapors can irritate skin, eyes and damage the lungs. I haven’t used turpentine as solvent yet so I can’t really say much else about it.
Always use artist’s white spirits or turpentine and never something you can find in your household.
If the solvent can’t be reused again or you want to dispose of it never pour it down the drain because that’s illegal and harmful for the environment.
Instead collect the used liquids in a jar and take them to the toxic waste collection point your city provides.
Tip: have two jars of solvent while painting. One for the dark and one for the lighter colors so your brush doesn’t get too muddy while mixing colors.
Solvent examples:
- Gamblin Gamsol Odorless Mineral Spirits ($6.38 – $47.25)
- Weber Odorless Turpenoid ($5.12 – $34.15)
- Winsor & Newton Artists’ White Spirit ($4.40 – $20.76)
- Utrecht Gum Turpentine $6.55 – $23.29
- Daler-Rowney Low Odor Thinner ($6.71)


7. Medium
Mediums for oil painting beginners are not absolutely necessary but it makes painting so much more easier and enjoyable.
A medium is an additive that can be mixed with the paints to change the consistency and there are many different mediums available. It can add transparency, gloss, make the paint dry faster or slower, make it smoother, etc.
I can recommend Galkyd by Gamblin because that’s what I use and started with. It makes the paint less stiff and therefore easier to apply plus it increases drying time (thin layers will dry within 24 hours) and adds gloss. I really enjoy using this medium.
If you’re concerned about the toxicity of mediums you could use Gamblin solvent-free fluid. Another common solvent-free option is linseed oil. Linseed oil smooths the paint and slows the drying time.
Medium examples:
- Gamblin Galkyd Mediums ($9.00 – $39.75)
- Gamblin Solvent-Free Oil Mediums ($4.13 – $23.25)
- Blick Studio Linseed Oil ($7.37 – $10.53)
- Gamblin Refined Linseed Oil ($7.13 – $24.75)
8. Varnish
Once you’ve practiced a bit and are happy with a painting you did, it’s time to varnish it. The final varnish gives the painting a finish as well as protects it from dust and other particles.
It is not absolutely necessary to varnish your paintings but you should if you plan to sell them or want them to last a long time.
Varnish options:
- Gamblin Gamvar Varnish ($11.25 – $30.75)
- Utrecht Oil Varnishes ($7.82 – $24.25)
- Daler-Rowney Artists’ Clear Picture Varnish ($9.29)
- Winsor & Newton Dammar Varnish ($6.29 – $46.48)
9. Basic Technique & Tips
There are not many rules when it comes to oil painting but one you should keep in mind is the “fat over lean” rule. This means that each layer you paint should contain more oil and less solvent than the previous layer to allow proper drying.
For example: the first layer you use a lot of solvent or medium and little oil paint, for the second layer you use less solvent/medium and more oil paint and for the third layer no solvent/medium and only oil paint.
The reason behind this is that if each additional layer contains less oil paint it could lead to the paint cracking.
Like I mentioned before, mixing paints with a palette knife is easier than mixing with a brush because with the brush the pigments will stick to the bristles and therefore not mix properly.
Another tip is to keep rags or paper towels nearby to wipe excess paint off your brush.
10. Safety & Waste Disposal
When painting always keep your room well ventilated.
Read the labels of your materials and pay attention to the safety notes.
Never light a candle or have flames near your materials.
Always wash your hands after a painting session.
Never eat while painting.
Some mediums like galkyd and linseed oil are combustible. They react with oxygen and generate heat so put the rags you wiped the medium on in water or a closed glass container. Once they are fully dried it’s safe to throw them away.
11. Just Paint and practice
Now it’s time to pick up your materials and start painting. Starting is always the hardest part but once you’ve started it’s hard to stop.
When you pick up oil paints for the first time, be free and experiment with them. See how they behave differently with solvent and mediums.
Painting takes practice and you have to be patient with yourself. It’s okay and totally normal to not make masterpieces in the beginning, just enjoy the process, test this great medium and have fun creating art. Never give up. I hope you’ll have a lot of fun with this medium.
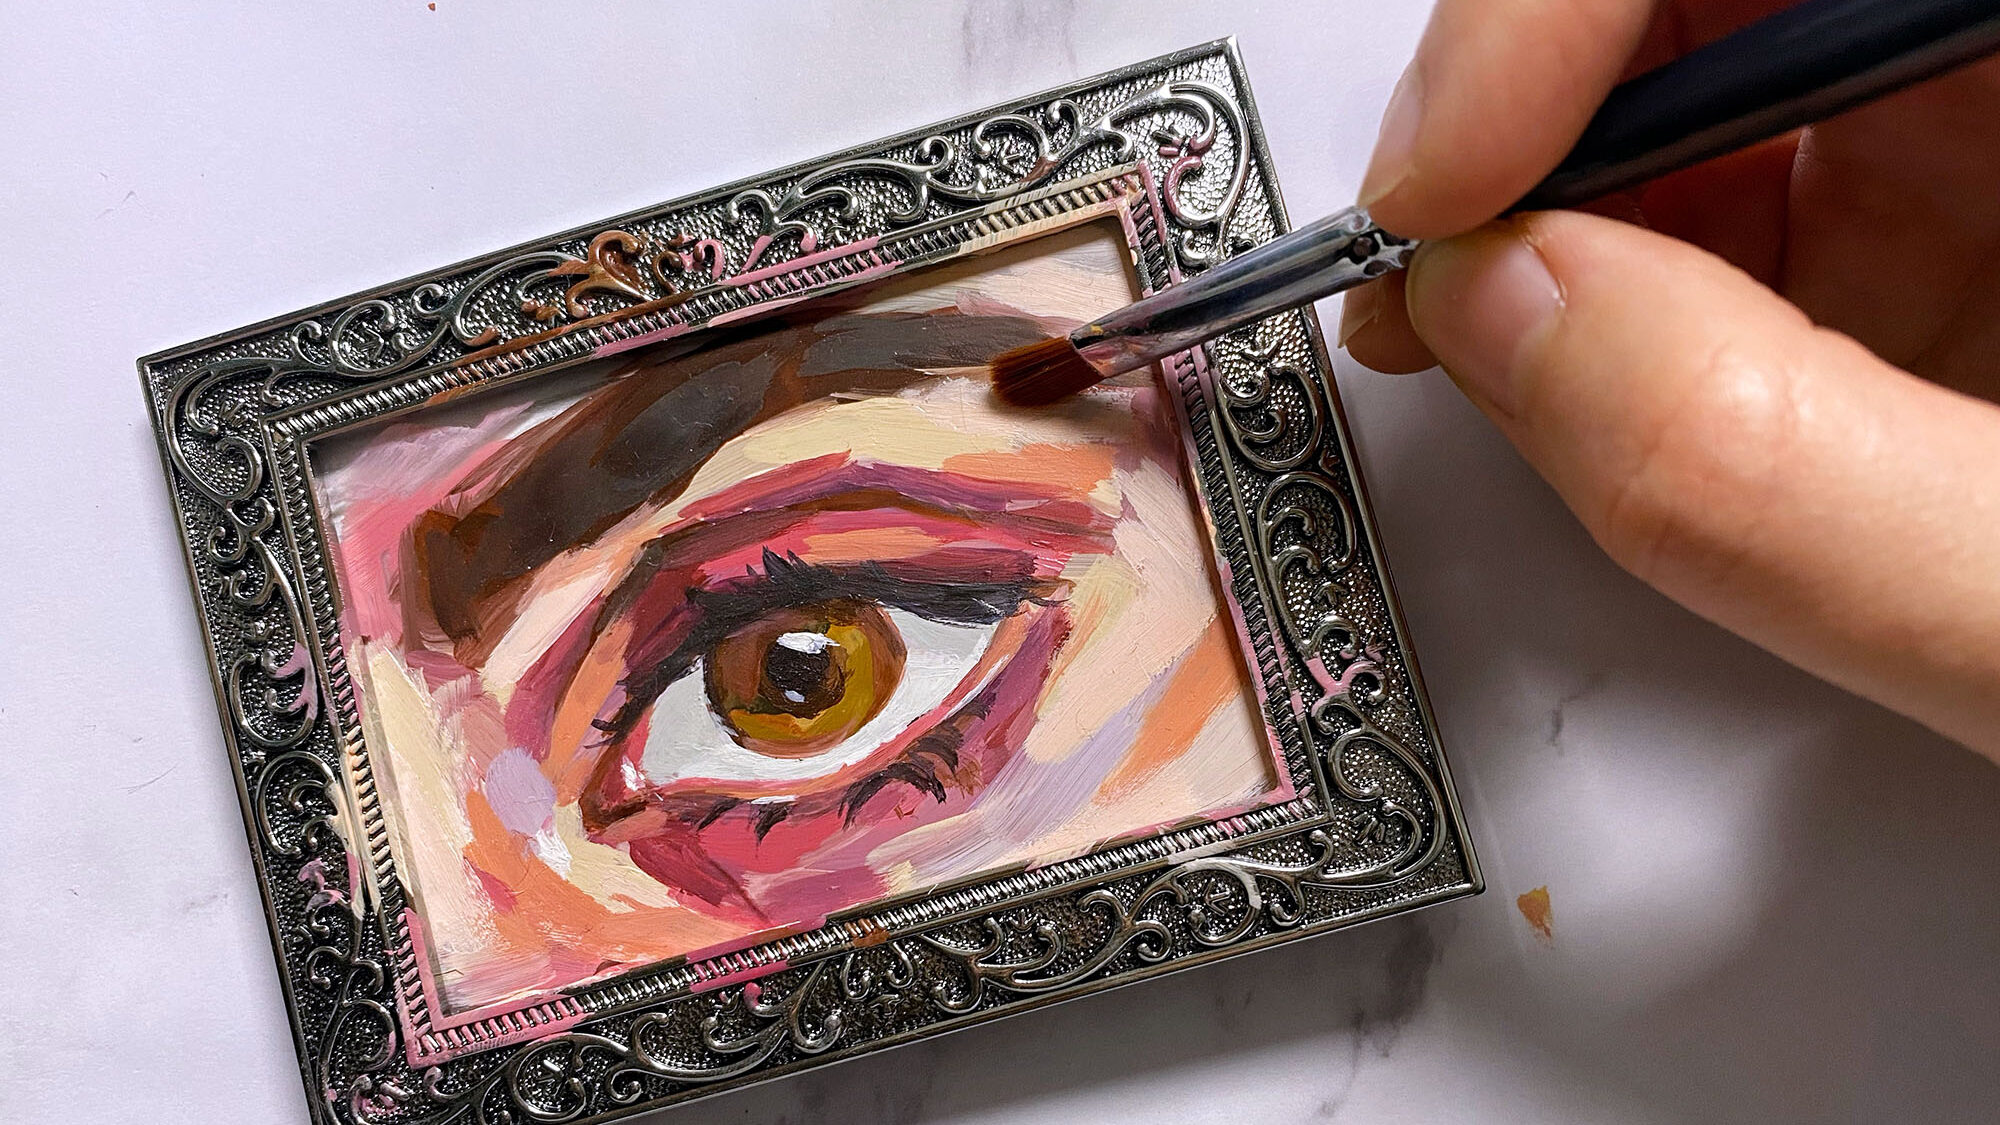
If you want some more inspiration you can check out this step by step oil painting.
Video Resources
If you still need some more inspiration I’ve linked some videos on oil painting for beginners that helped me get into it.
- The Basics of Oil Painting by Lena Danya
- A Crash Course on How to Oil Paint by Paint Coach
- Trying Oil Paints for the First Time!! by Minnie Small
If you have any questions left ask in the comments and I will try my best to answer them. Also share any tips you have to help others on their oil painting journey.



This is great information and you made it very easy to understand. I have been asking people for years what the best way to dispose of the rags and solvents and used materials and you answered my question. Thank you so much! I am also happy to have a list of the paint’s brushes and materials to use as far as cost and quality that helps a lot. Great information. Thank you.
Thank you so much for your kind comment. It makes me really happy to hear that this post has helped you! I hope you’ll have a lot of fun with oil painting! If you have any more questions feel free to ask anytime 🙂
Thanks for all this information. I’m about to get started in oils & have mainly painted with watercolor which I know is very different. I’m curious about mediums. Are there any that give texture? Also how long should an oil painting be left to dry? Can watercolor paper with gesso be used to paint oils on?
Thanks!
Thank you for your comment! It’s so great that you wanna give oils a try. Yes, there are so many different mediums that can modify the paint properties. Some can make them really fluid, others can make it a stiff paste. I would recommend you check out the mediums from your preferred brand (I can recommend Gamblin). The surface you use can of course also change the texture. As for using watercolor paper with gesso: you can totally do that. You could apply gesso to any surface and would be able to paint on top of it then. 🙂 Hope this helps!