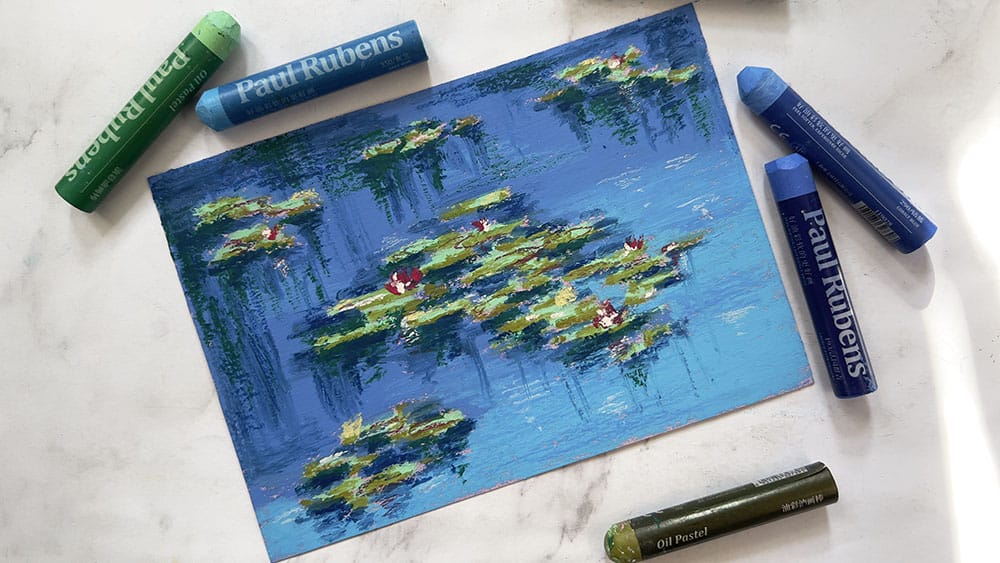
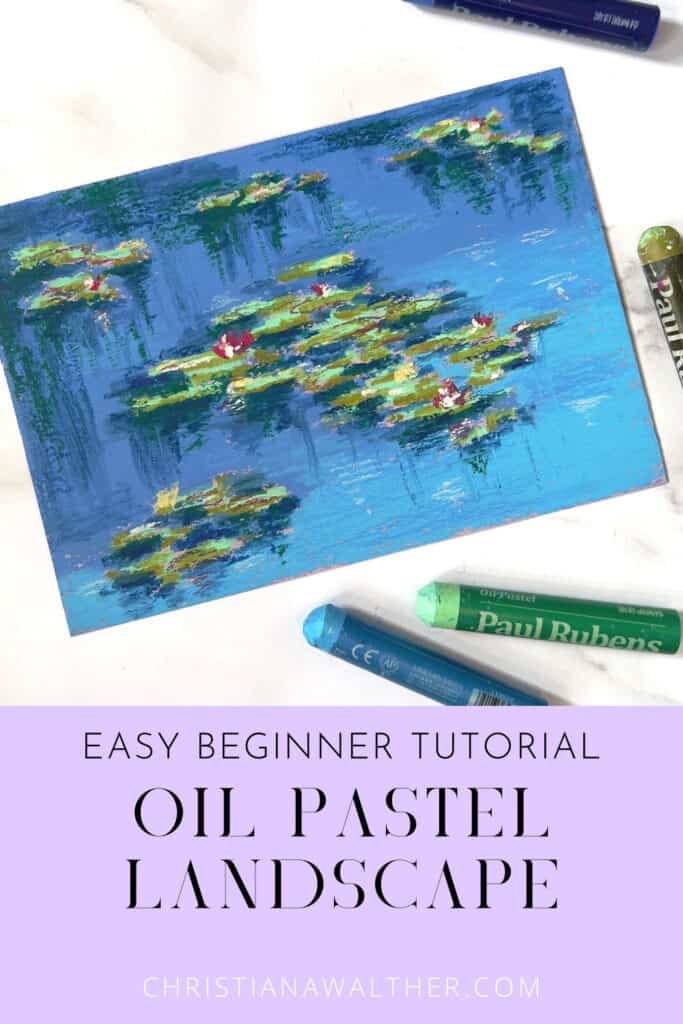
Oil Pastels are a fantastic drawing medium. Because of their usual stumpy form it’s hard to add fine details with them. But this makes oil pastels perfect for impressionistic drawings and paintings. In this easy tutorial for beginners I show you how you can draw an impressionist water lilies landscape with oil pastels. By the end you’ll feel like Monet.
If you want to learn the different oil pastel techniques first, then check out this article.

Materials
Oil Pastels:
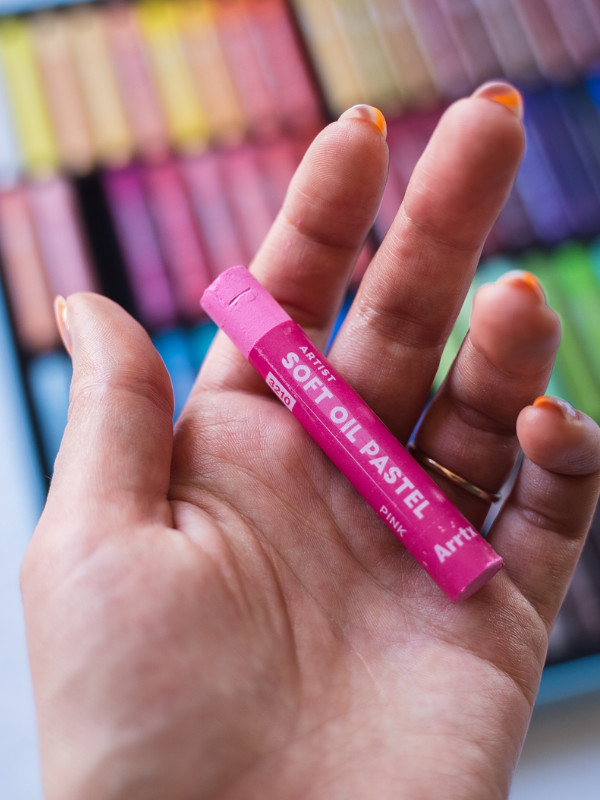
The oil pastels you’ll need should consist of a few blues (light to dark), greens (also light to dark), red or pink, and a highlight color like white, light pink and/or light yellow.
It’s alright if you don’t have many colors in your set. Just use what you have. Most important is a dark and light green and blue and a highlight color.
If you don’t have any oil pastels yet or want to add some to your kit, here are some options:
- Paul Rubens Oil Pastels Set ($26.99)
- Pentel Oil Pastels ($2.05 – $46.78)
- Van Gogh Oil Pastels and Sets ($2.80 – $51.41)
- Sennelier Oil Pastels and Sets ($3.75 – $297.00)
I use and recommend the Paul Rubens oil pastels because they are good quality, have a nice creamy texture and are affordable. With them you can lay down the colors very thick to achieve a “painterly” look.
These are all the oil pastels I used for this landscape drawing.

- 232 Red Yellow
- 213 Bean Yellow
- 212 Rose Red
- 172 Permanent Green Light
- 174 Olive Green
- 160 Deep Grandmother Green
- 350 Grey Blue
- 290 Cobalt Blue
- 193 French Ultramarine
- 297 Prussian Blue
- 305 Phthalo Blue
Surface:
For this landscape drawing with oil pastels I used a light purple toned piece of paper because I like when the color of the paper shines through in some areas. As always use the paper you have and like. It definitely helps if it is a bit thicker and has a bit of texture because then it is easier to apply many layers.
Now let’s get started!
What do I need to get started with oil pastels?
Step 01 Sketch

Firstly, with a colored pencil we lightly sketch in the positions of the lily pads.
Step 02 Base Color

Now, without pressing down hard, we lay down the base color of the water. I used a medium toned blue (193 French Ultramarine) and because water is not just one color, I used the lightest blue (350 Grey Blue) in the downright corner and blended it slightly with the darker blue.
Step 03 Lily Pads

For the next step, we lay down the base color of the lily pads with a mid-toned green (172 Permanent Green Light).
Step 04 Details

Using a darker green (174 Olive Green) we add some shadows to the lily pads. This can be done messily. Remember that we are trying to capture an “impression” of the scene.
Step 05 Defining the water

After that, it’s time to define the water. Using a medium toned blue again (290 Cobalt Blue), we press it down hard to apply a thick layer of pastel. In the downright corner we use the lighter blue (350 Grey Blue) and blend it into the darker blue. We apply the pastel with horizontal lines to mimic the flow of the water.
Step 06 Adding Shadows

Now, we can add some shadows to the water by using a dark blue (297 Prussian Blue) and applying it under the lily pads and in the upper corners. This time, we can also use vertical lines to create a reflective illusion.
Step 07 More Shadows

To make this oil pastel landscape drawing more dynamic we use a dark green pastel (160 Deep Grandmother Green) to define the shadows even more. Again, we apply it under the lily pads, in the corners and drag the color slightly down into the water.
Step 08 Drawing the flowers

We are at the final stages, so it’s time to draw the water lilies. We use a red (212 Rose Red) or pink oil pastel color and apply it on top of the lily pads. With the same color we can also add some reflections to the water.
Step 09 Highlights

With some light colors like white, light yellow (213 Bean Yellow) or light pink (232 Red Yellow) we add the highlights on the water, the lily pads and the flowers.
Step 10 Final Step

To conclude this impressionist landscape with oil pastels drawing we use a dark blue (305 Phthalo Blue) and redefine the shadows under the lily pads and in the upper corners again. After the final applications our water lilies scene is complete.
I hope this tutorial was helpful and got you inspired to experiment with oil pastels. They are so versatile and fun to use. If you’re interested in another oil pastel drawing tutorial check out this How To Draw Eyes With Oil Pastels post. Have fun creating!
What Next?
Check out these oil pastel tutorials:


This tutorial and end result you get is simply amazing! I couldn’t believe I could get to such an amazing art piece in such a short time following this tutorial. It unblocked me after years of not painting after childhood. I am now going through all of the step by step art you have on your website. Wish there were more of these. If you have any suggestions on what should I do next, highly appreciate!!
Thank you so much for your kind words. It means so much to me and I’m so glad this tutorial was helpful to you and got you out of art block. You motivate me to create more tutorials like this. Keep on creating!
Thank you for this soooooooo muchhhh!,!!!! I was looking for some easy tutorials and came accross this and it was very easy and fun to do!!!! Tho i dont have the exact colors, i still got the similar end result. That was so therapeutic as well….
Thank you so much for your lovely words. It makes me so happy that you enjoyed this tutorial and had fun recreating this piece. 💖
i haven’t tried it yet but the tuto is well detailed i love it
Thanks so much. Hope you like it once you’ve tried it 🙂
Absolutely love this tutorial! Thank you for sharing your knowledge with everyone <3
Thanks so much, I’m so glad you enjoyed it. 🙂
so beutifull
Very nice lesson! Thank you
Wonderful tutorial, Christiana. I feel like I really grasped layering and blending color from this. I also feel like I got a big confidence boost using oil pastels. Thanks!